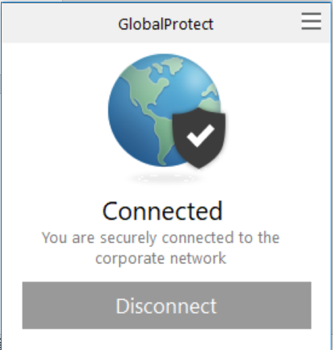
A virtual private network (VPN) connection to WCC’s network is required for access to a few resources. The following list of those resources is not all-inclusive, but should include most resources that are typically required for remote work.
- Banner 8 and Banner 9 Admin pages
- Xtender (Banner Document Management or BDM) for document imaging
- Access to the O:, H: and R: drives
Most other resources available from the Faculty/Staff Dashboard in the WCC Gateway do not require VPN access. PLEASE DO NOT connect to the VPN unless you are using one of these resources. Specifically, if you are doing any type of streaming video, DO NOT do so while connected to WCC’s VPN as it will put a large load on our campus internet connection that is unnecessary.
When VPN access has been granted for your account, you will receive an email from Duo Security that is similar to this:

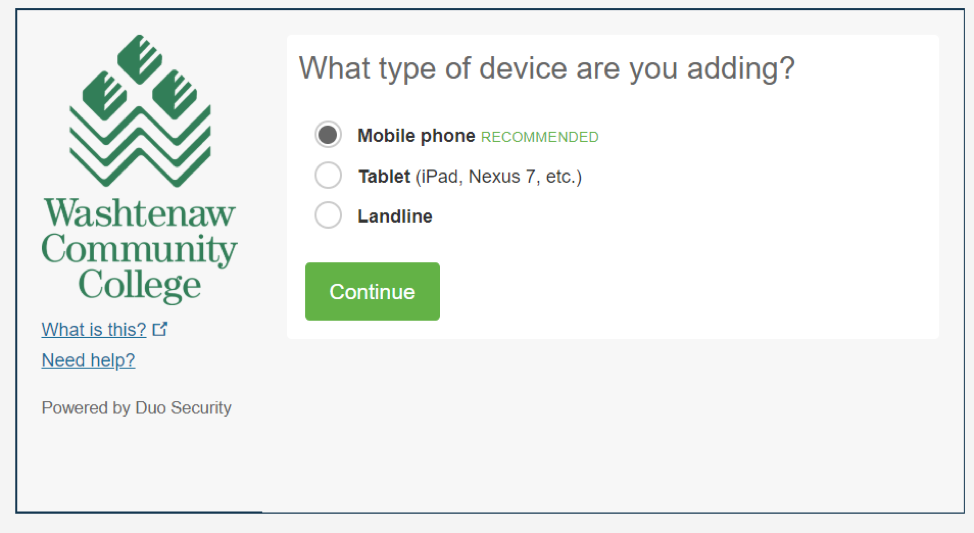
Click on the link in the email to begin the setup process for VPN access and then click on the Start Setup button. The first selection will need to make is the type of device that you will be using for two factor authentication to the VPN. In order to connect to the VPN, you must register a device and you must have that device with you whenever you connect to the VPN. A smart phone is the preferred choice, but you can also use a tablet or even take a voice call on a landline.
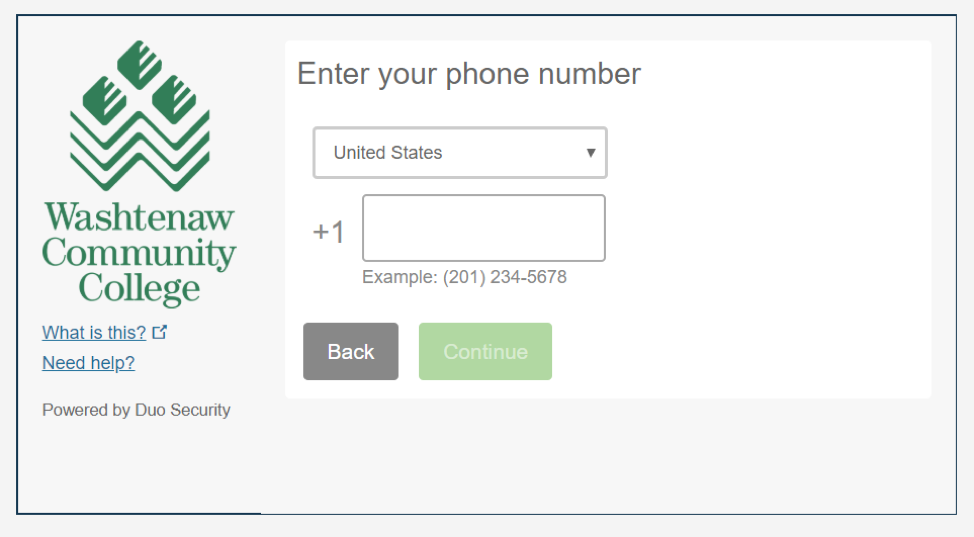
Assuming you select a mobile phone or landline, you will need to provide a telephone number.
After providing the telephone number, you will need to provide the type of phone. If you do not have a smartphone, select Other.
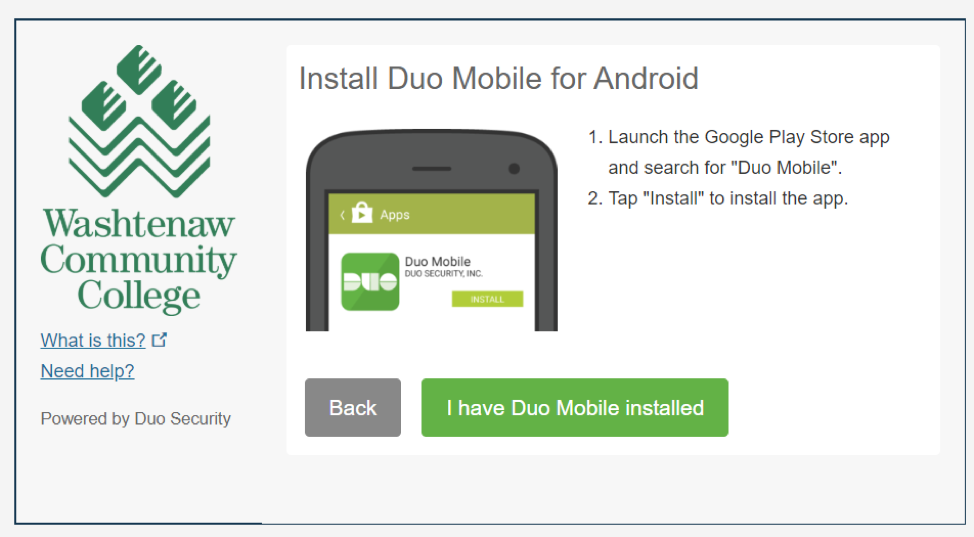
If you are on a smart phone, you will next be prompted to go to the phone’s store to download and install the Duo Mobile app on your device. The screen below is for an Android phone, so this will look different for you if you have another phone manufacturer, such as an iPhone. After you have installed the Duo Mobile app on your phone, press the “I have Duo Mobile installed” button on this screen on your computer.
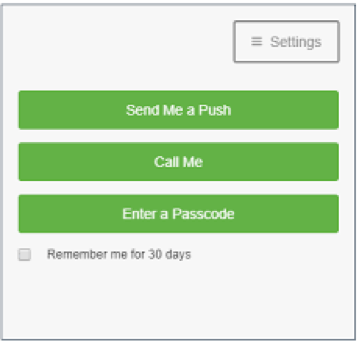
The next page will confirm the information about the phone number you provided and ask you what authentication method you would like to use for connecting to the VPN. We recommend that you select Send Me a Push, if possible. The Call Me option is for voice calls to your device. The Enter a Passcode option requires you to read a passcode from the Duo Mobile app and type it into your authentication screen. The Push method is a little simpler and quicker.
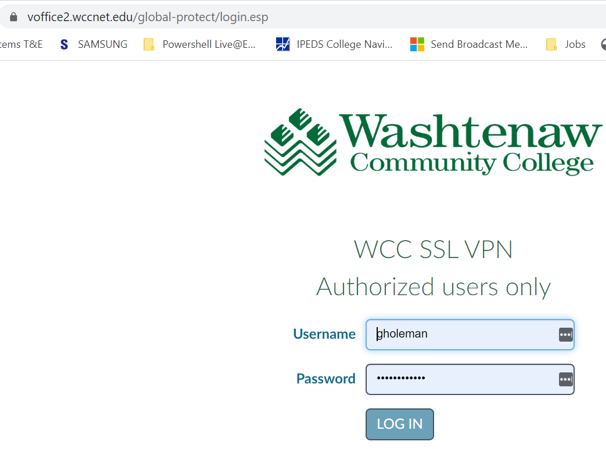
Once you press “Finish Enrollment,” you will be taken to a web page to login to WCC’s VPN as seen below. Provide your WCC NetID and your NetID password.
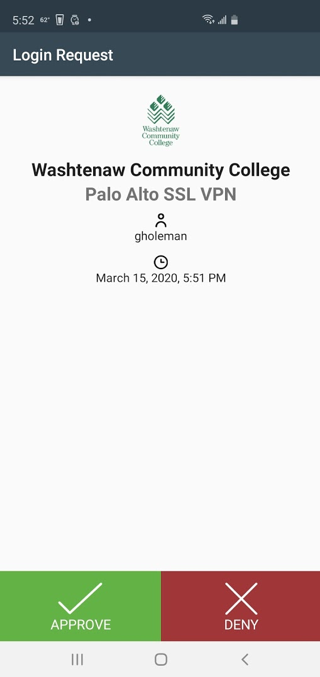
If you have push authentication turned on, you will be prompted on your phone to approve the connection with a page like the one below:
After you have successfully connected the VPN, you will be brought to a page to install GlobalProtect on your computer. This is the client application that should be installed and used for connecting to VPN, rather than using the above web page. That web page is only used for the first connection.
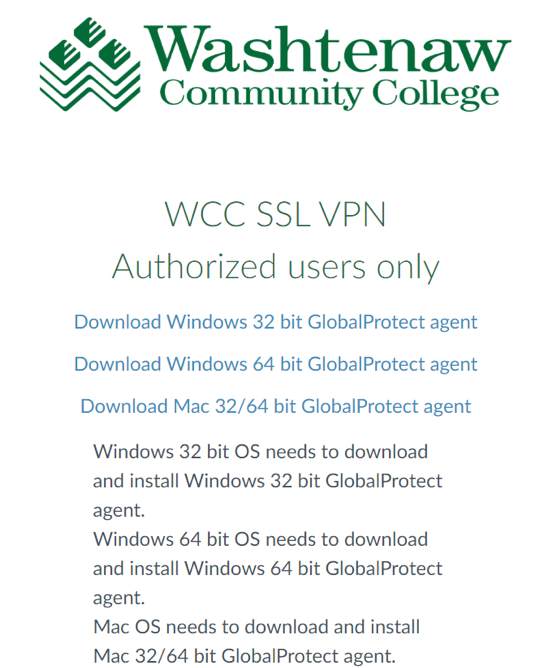
If you do not know whether to install the 32 bit or the 64 bit version, you can find instructions at the link below on how to determine whether your operating system is 32 bit or 64 bit.
https://www.computerhope.com/issues/ch001121.htm
After installing the software on your computer, you should always connect to the VPN using the GlobalProtect software. On a Windows 10 computer, GlobalProtect will be in your System Tray. You should see GlobalProtect in your recently installed software or on a Windows 10 computer you can press the Windows key and start typing GlobalProtect to see the software.
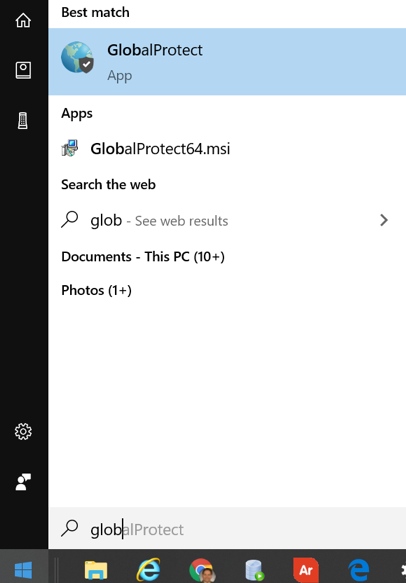
When you start the software, press Connect.
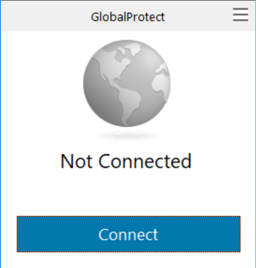
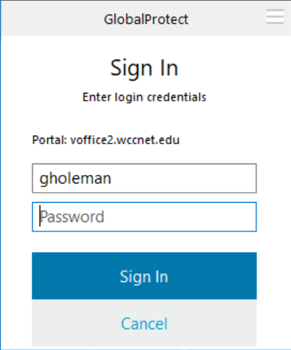
On the sign in screen, provide your NetID and password. You will once again be prompted to use the authentication method you selected in the setup. Once GlobalProtect shows you are connected, you will be able to use those resources that require a VPN connection. You can disconnect from the VPN by selecting Disconnect on the GlobalProtect screen.
